Ratatouille Toasts with Fried Eggs
Posted: May 23, 2015 Filed under: Eggs, Tapas, Vegetables, Vegetarian | Tags: Brunch, Eggs, mediterranean flavours, toast, Vegetables, Vegetarian, Zoe Nathan Leave a comment
Ratatouille is an ideal make-ahead recipe. After all it tastes even better the day after it is cooked. Combined with eggs on toast, it makes for a hearty brunch that could easily work as a light supper. Or, a snack, if you must. If you don’t like the bread option, you can also heat it in a skillet until it is hot and then make wells in the vegetable mixture. Just break one egg into each and cover the pan with the lid until they are set (about 10 minutes). So many possibilities…
Ratatouille Toasts with Fried Eggs (adapted from a recipe by Zoe Nathan found in Food and Wine Magazine)
Ingredients
- 150mL cup extra-virgin olive oil, plus more for drizzling (about 3/4 of a cup)
- 3 medium tomatoes, seeded and cut into 2cm dice
- 5 garlic cloves
- 1 1/4 teaspoons crushed red pepper
- Salt and black pepper to taste
- One 350g eggplant, seeds cut out and flesh cut into 2 cm dice (about 2 cups
- 2 small zucchini, cut into 2cm dice (2 cups)
- 2 large red onions, cut into 2cm dice
- 1 red bell pepper, cut into 2cm dice
- 1 bay leaf
- 1 cup chopped basil, plus more for garnish
- Freshly ground black pepper
- eggs to taste
- Six 2cm-thick slices of rustic bread, toasted
Method
In a large skillet, heat 2 tablespoons of the olive oil. Add the tomatoes, 1 garlic clove and 1/4 teaspoon of the crushed red pepper and season with salt. Cook the tomatoes over moderate heat, stirring occasionally, until just softened, (about 5 minutes). Scrape the tomatoes into a medium saucepan and discard the garlic clove. Wipe out the skillet. Repeat with the eggplant, zucchini, onions and red bell pepper, cooking each vegetable separately in 2 tablespoons of oil with 1 garlic clove, 1/4 teaspoon of crushed red pepper and a generous pinch of salt until just tender and lightly browned, about 7 minutes per vegetable. Add the cooked vegetables to the tomatoes in the saucepan. Add the bay leaf, 1/3 cup of water to the saucepan with the vegetables. Cover and cook over moderately low heat, stirring occasionally, until the vegetables are very tender, about 20 minutes. Discard the bay leaf. Season the ratatouille with salt and pepper and let cool slightly. Meanwhile, in a large nonstick skillet, heat the remaining 2 tablespoons of olive oil over moderate heat. Crack how many eggs you want into the skillet and fry until the whites are firm and the yolks are runny, 3 to 5 minutes. Transfer the eggs to a plate, season with salt and pepper and keep warm. To serve, spoon the ratatouille onto the toasts and top with the eggs. Drizzle with olive oil, salt and black pepper and serve.
Pea Tortilla with Mint and Yogurt
Posted: February 27, 2015 Filed under: Eggs, Tapas, Vegetarian | Tags: Brunch, Eggs, Food and wine, frittata, mint Yoghurt, Peas, tortilla Leave a comment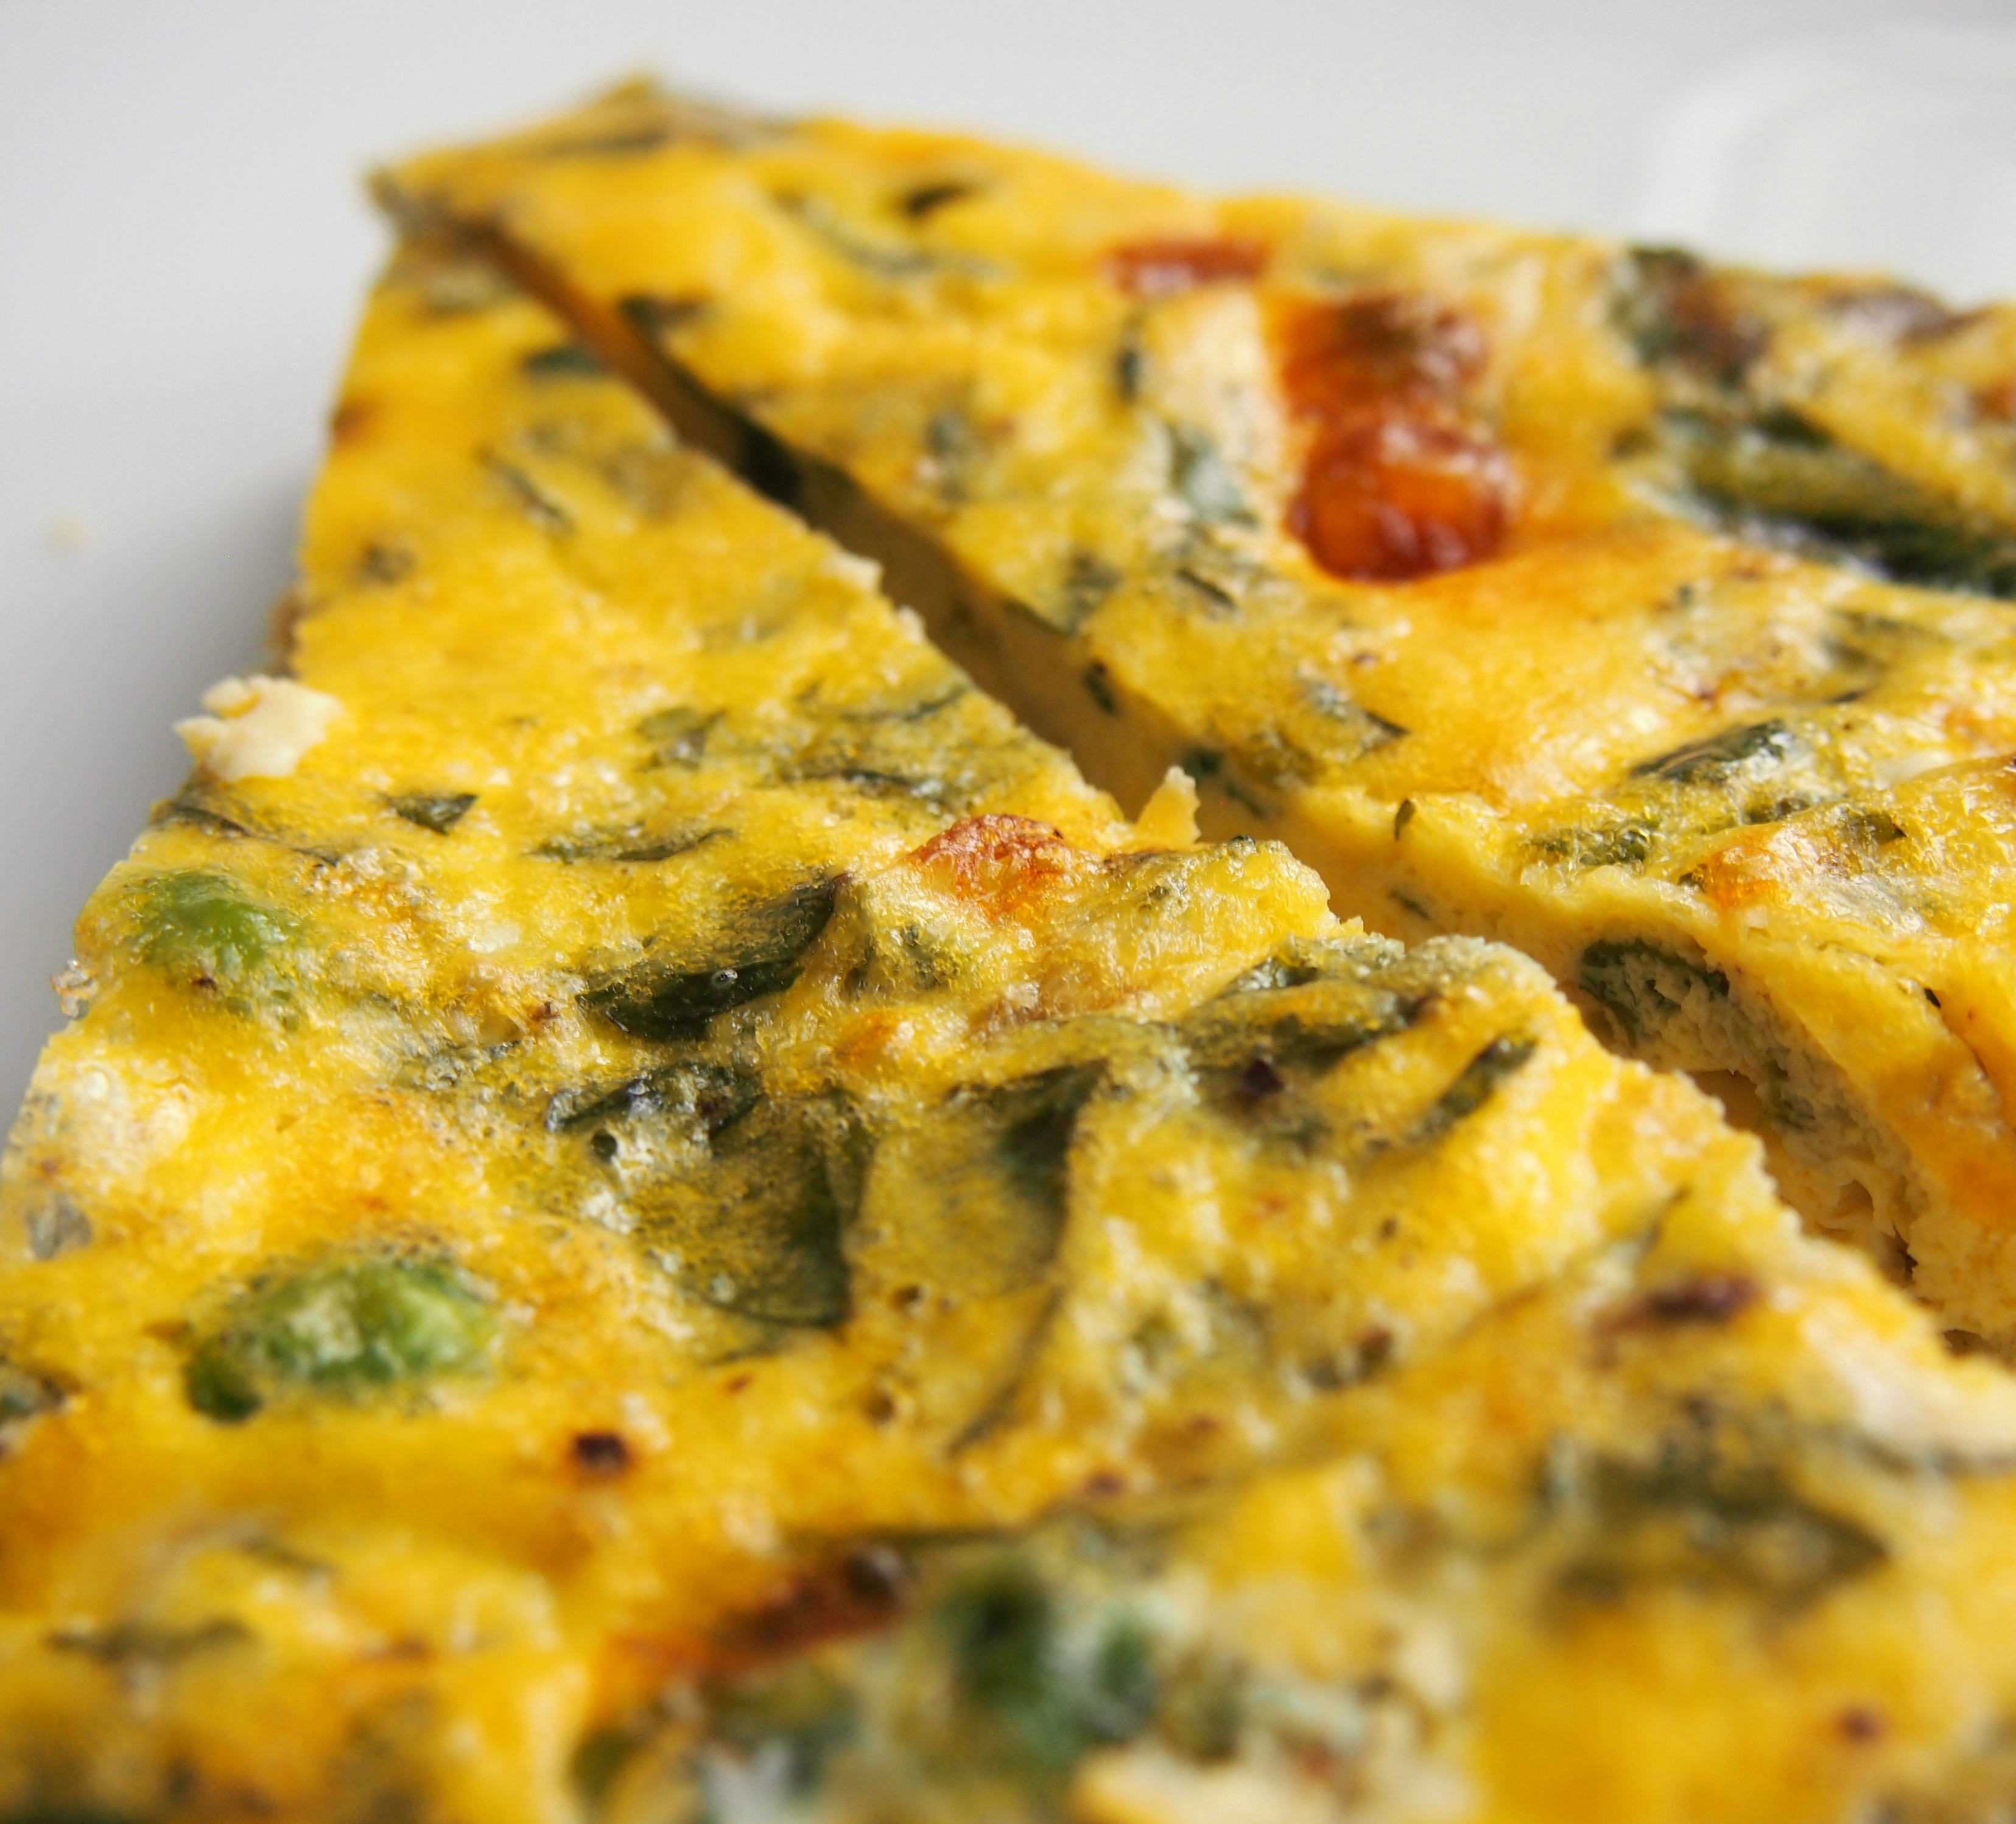
Tortilla or frittata? You can go on for hours debating over the correct name for this dish… still, my strong recommendation would be to eat it straight away from the over with a bit of toasted bread and a dollop of yogurt.
Pea Tortilla with Mint and Yogurt (adapted from a recipe by Francis Mallmann found in Food and Wine magazine)
Ingredients
- 4 tablespoons unsalted butter
- 250g of frozen baby peas—thawed, drained and patted dry
- 1 1/2 cups (=350 mL) plain Greek-style yogurt
- 8 large eggs
- 1/2 cup coarsely chopped mint
- 1 teaspoon kosher salt
- 1/4 teaspoon freshly ground pepper
Method
Preheat the griller.
In a large, ovenproof, nonstick skillet, melt the butter. Add the peas and cook over moderate heat until warm, about 3 minutes.
In a large bowl, beat the yogurt with the eggs, mint, salt and pepper until smooth.
Pour the eggs over the peas and cook over moderately high heat until set on the bottom and around the edges, about 4 minutes.
Transfer the skillet to the oven and broil 20cm from the heat for about 3 minutes, until the top of the tortilla is set and lightly golden in spots. Slide the tortilla onto a plate, cut into wedges and serve with the remaining yogurt.
Bacon, figs and parsley savoury cake
Posted: January 27, 2014 Filed under: Pastry and Baking, Tapas | Tags: Bacon, Cake, Cheese, Elizabeth Bard, figs, French cooking, Tapas 1 Comment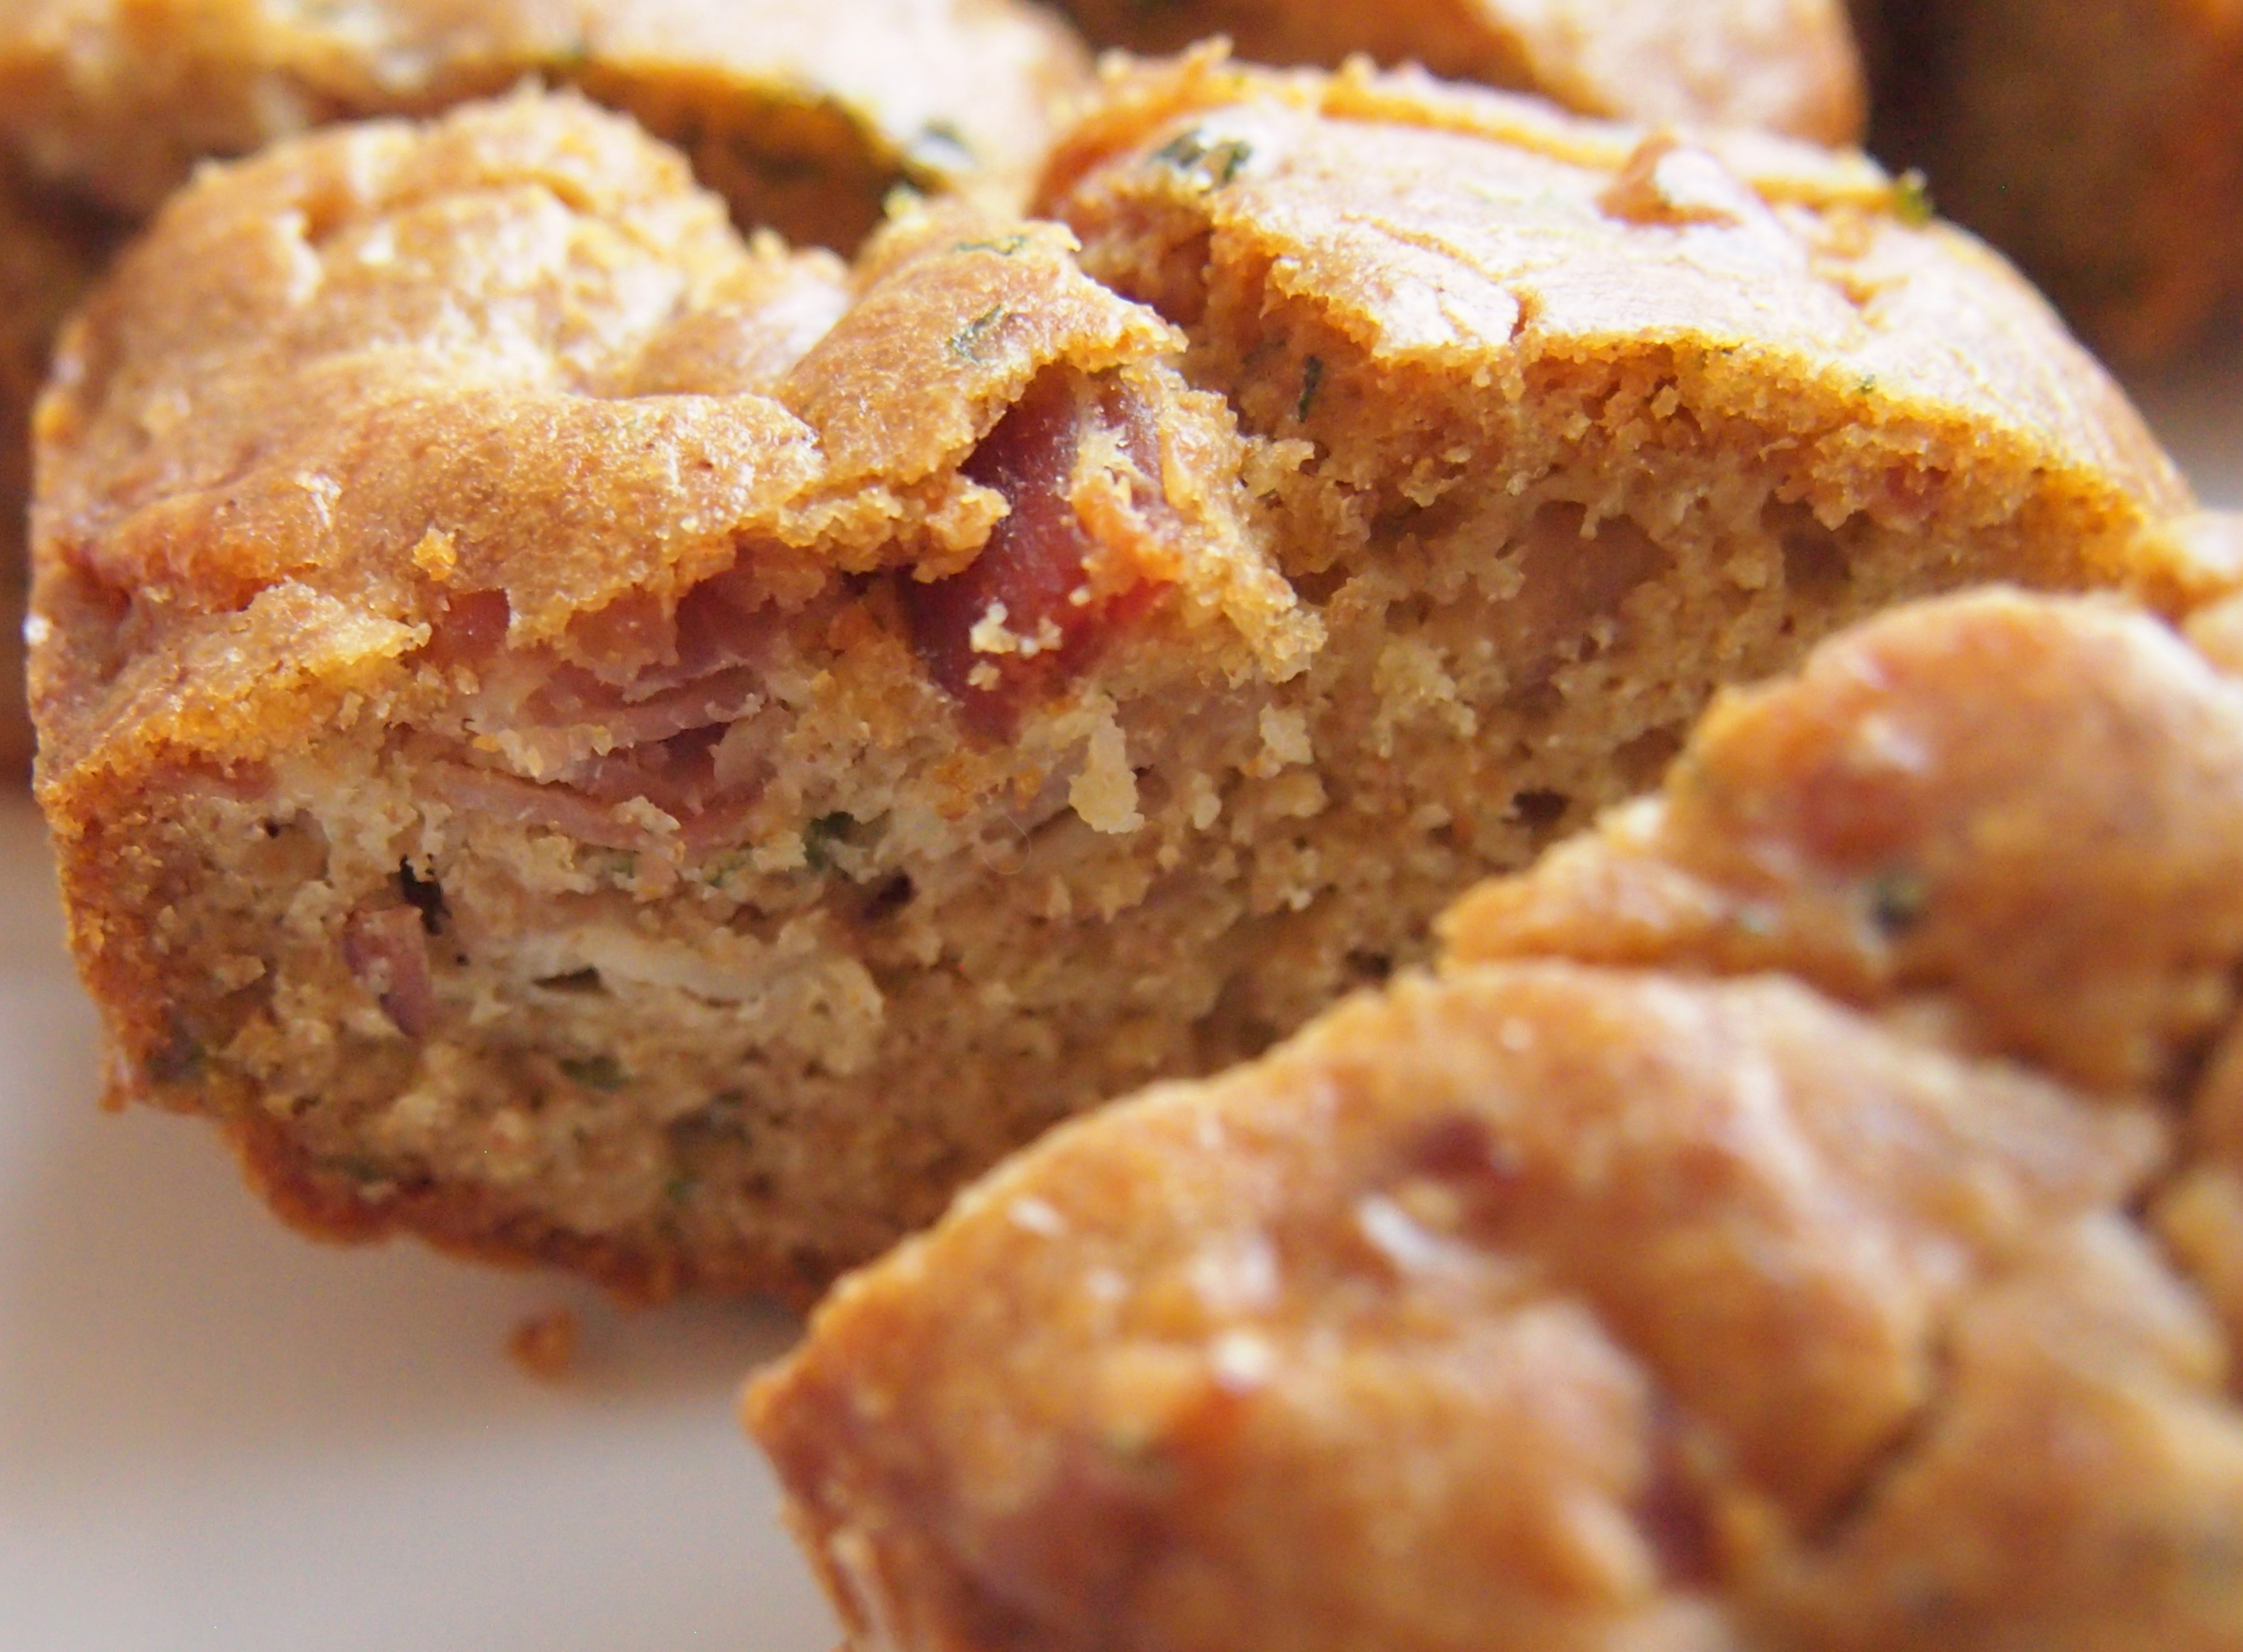
It was a totally random purchase, in an airport bookstore. I had a couple of minutes to grab a book to read in the plane and this one just got my attention. It looked like yet another expat experience with yet more live changing experiences inducing snooze fest. For extra cynicism, I only found broken hearts in the city of love… But it were the recipes that caught my attention. A love story with recipes? Never mind it is even in Paris – that is totally worthwhile reading. And it was… It is a quick, funny and light read. For a quick sum up of traditional home style french dishes, it is also excellent. I feel I will come back to this book over and over again.
Bacon, figs and parsley cake (adapted from Elizabeth Bard‘s Lunch in Paris: A Love Story with Recipes)
Ingredients
- 120g of all purpose flour (about 1 and 1/4 cup)
- 1 tablespoon of baking powder
- 200g sliced bacon or pancetta
- 4 eggs
- 1/4 teaspoon salt
- 120 mL olive oil (about 1/2 cup)
- 120 mL full fat milk (about 1/2 cup)
- 8 soft dried figs
- 2 tablespoons of finely chopped parsley
- 100g of grated Gruyere cheese
Method
Pre-heat the stove to 160oC
Sift the flour with the baking powder to a bawl.
Butter and flour a baking dish (or use a non stick baking spray). Cover the bottom of the dish with parchment paper.
In a small frying pan, fry the bacon strips until all fat is gone. Take them out of the pan and pat them dry with kitchen paper.
In a medium size bawl, beat the eggs with the salt. When they are mixed, add the milk and olive oil. Carry on beating until you obtain a light fluffy structure.
Fold the flower into the mix until is incorporated (be careful not to over mix – a couple of time will do).
Add the remaining ingridients (fried bacon, parsley and grafted cheese) gently mix then in.
Put the batter in the baking dish and transfer to the oven. Let it bake for about 1hour. Test with a knife before taking it out – it should came out dry.
Take it out from the dish while still hot, and let it cool down before serving.
Pumpkin and tahini spread
Posted: December 5, 2013 Filed under: Tapas, Vegetables, Vegetarian | Tags: Pumpkin, Spread, Tapas, Vegetables, Vegetarian, Yotam Ottolenghi Leave a comment
Smooth, creamy and with a warm spices note – Autumn doesn’t get any better than this. It was supposed to be eaten in small portions with savoury cookies, but soon spoons made an appearance. TEoU and I ended up having it as pumpkin purée for lunch…
Pumpkin and tahini spread (adapted from Yotam Ottolenghi’s column in The Guardian)
Ingredients
- About 1kg pumpkin (or butternut squash)
- 3 tbsp olive oil
- 1 tsp ground cinnamon
- ½ tsp salt
- 70g tahini paste
- 120g Greek yoghurt
- 2 small garlic cloves, peeled and crushed
- Olive oil to drizzle
Method
Heat the oven to 180C. Spread the pumpkin out on a medium-sized baking tray, pour over the olive oil and sprinkle on the cinnamon and salt. Mix well, cover the tray tightly with tinfoil and roast for 70 minutes, stirring once during the cooking. Remove from the oven and leave to cool.
Transfer the cooled pumpkin of the bowl of a food processor, along with the tahini, yoghurt and garlic. Roughly pulse so that everything is combined into a coarse paste
To serve, spread the butternut in a wavy pattern over a flat plate and sprinkle with sesame seeds, and a drizzle of syrup.
PS – Cookies (Taralli Caserecci Pugliesi) courtesy of Coop Fine Food
Beetroot and walnut hummus
Posted: July 11, 2013 Filed under: Snacks, Tapas, Vegetables, Vegetarian | Tags: Beetroot, Hugh Fearnley-Whittingstall, Nut, Spread, Tapas Leave a comment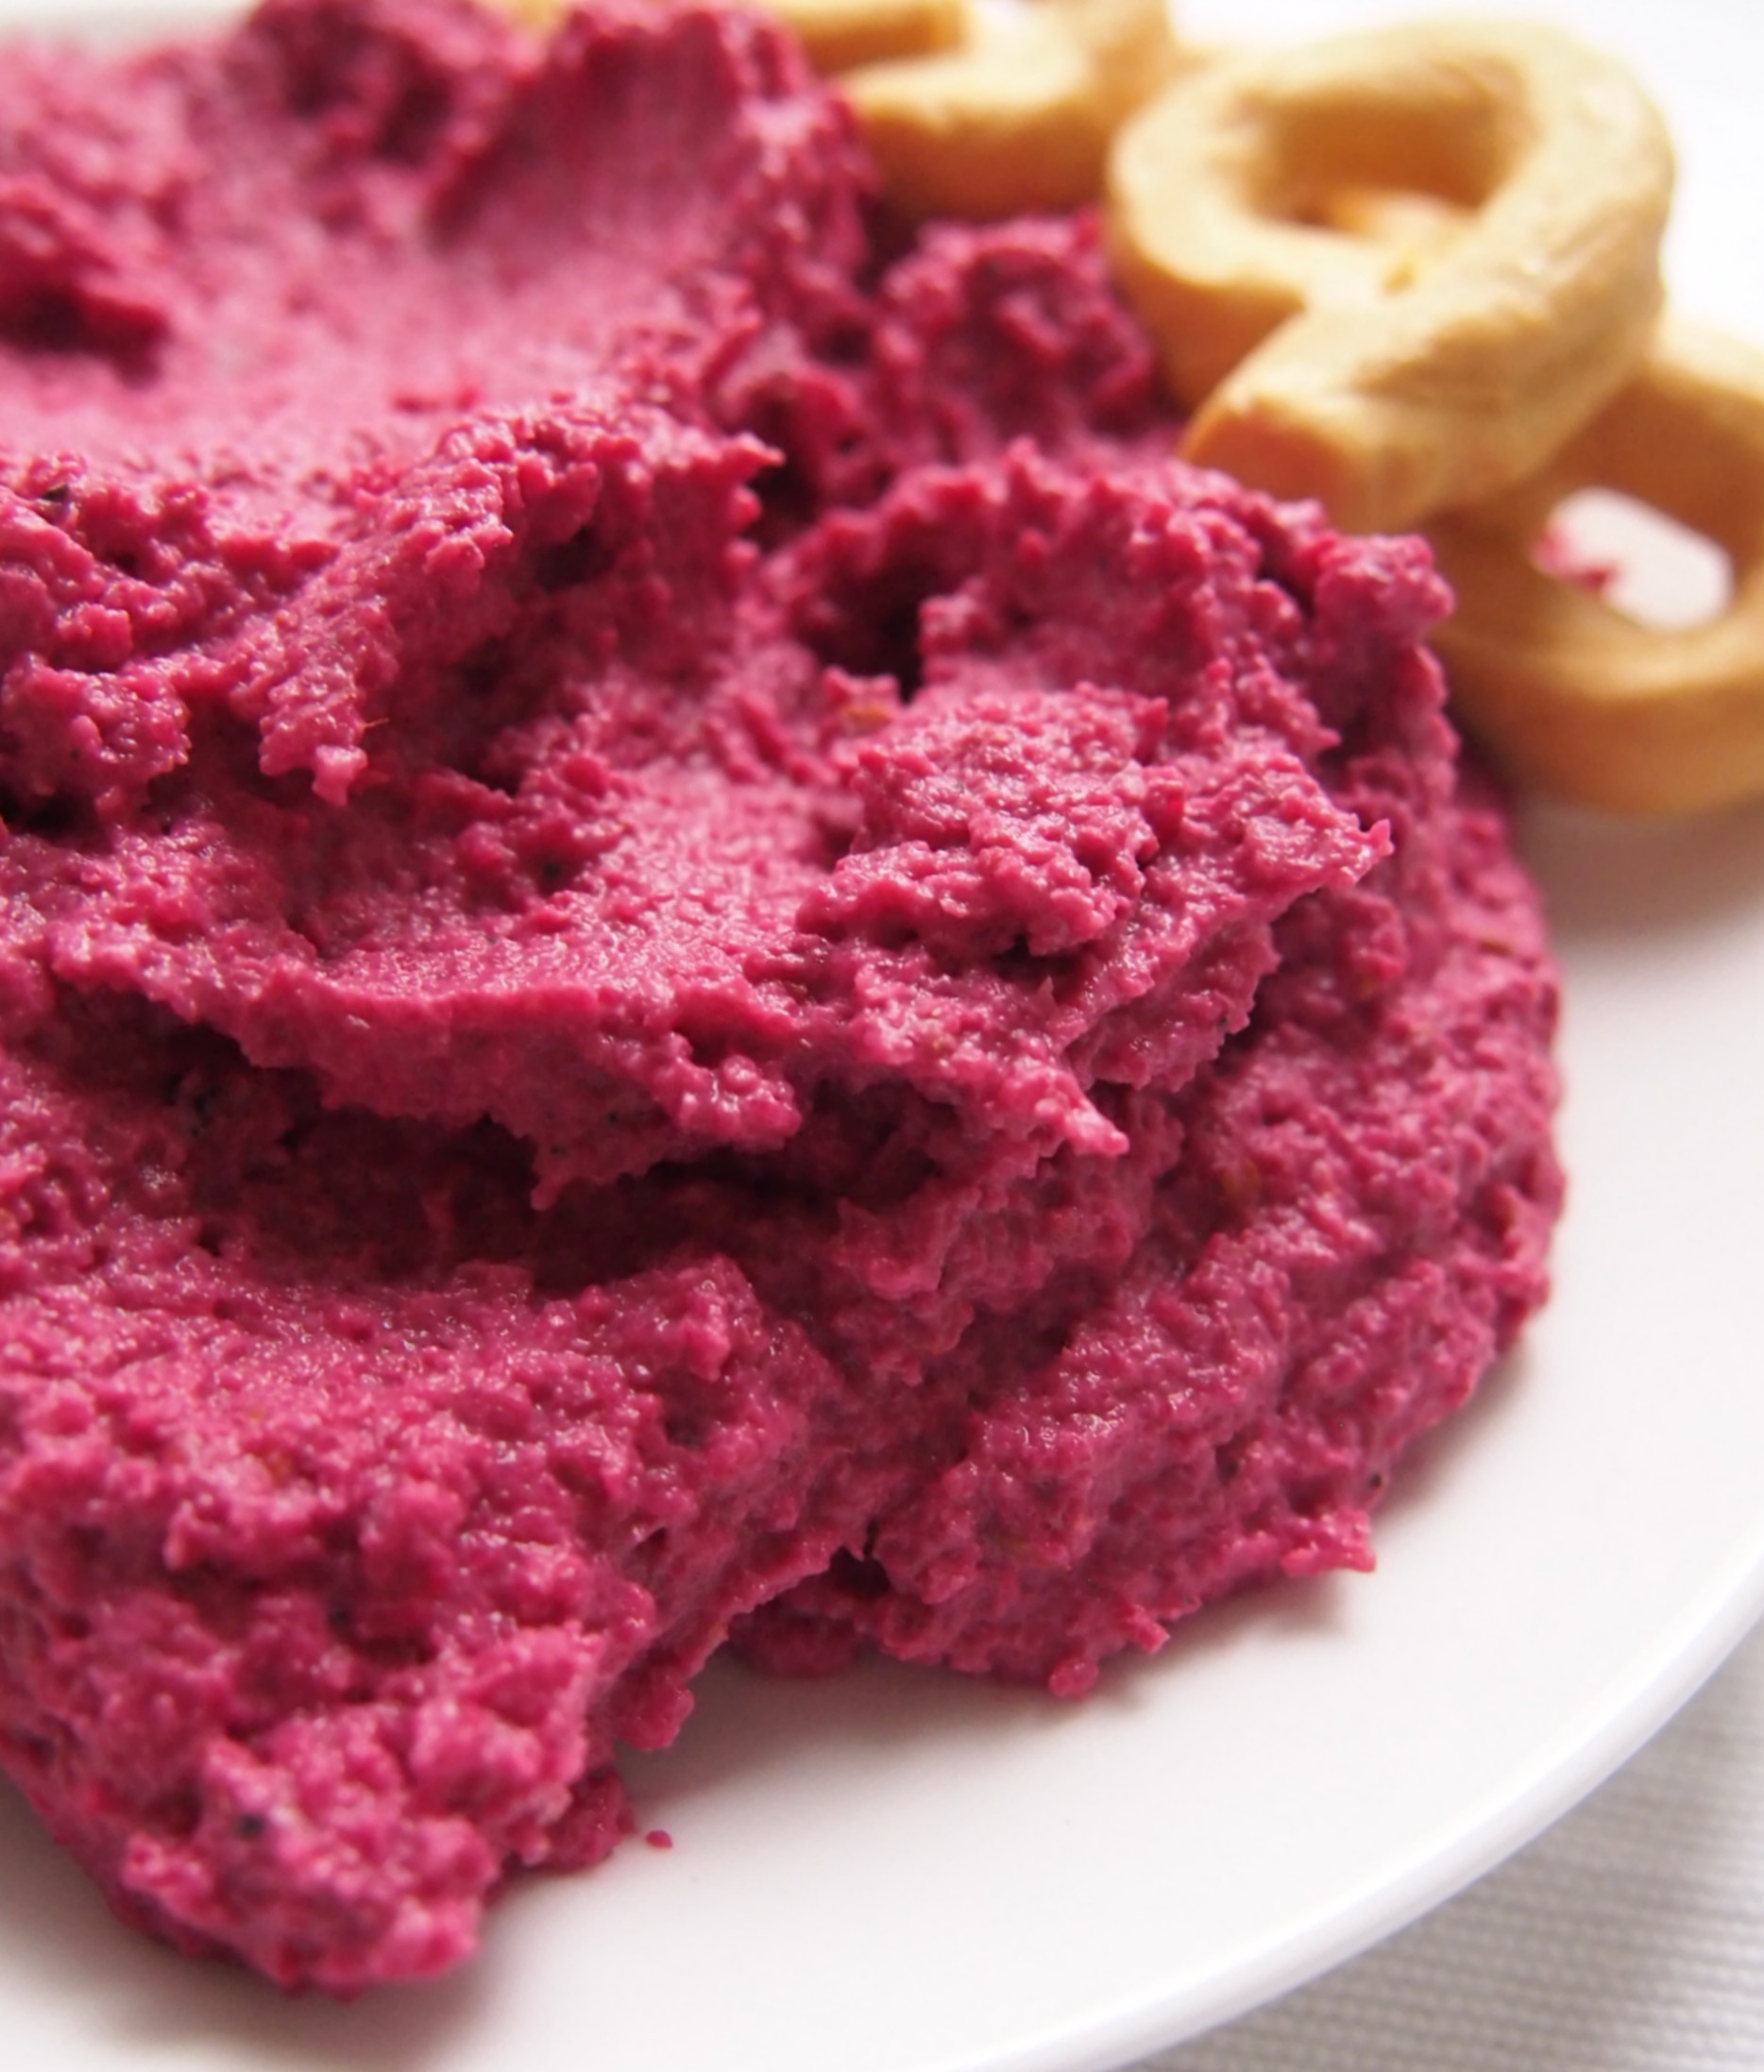
This #beetrootgate episode is long overdue… It has been almost a month I posted a beetroot dish, a spread turned into a creamy soup. Truth to be said, actually never managed to get the right consistency. After trying a couple of times, I ended up doing this beetroot and walnut hummus instead. Well, technically this isn’t exactly a hummus, as there are no chickpeas in this dish, but its colour and flavour compensate for this culinary liberty. It is a brilliant recipe, almost foolproof, with the earthy sweet flavour of the beetroot combining to perfection to the crunchy nuts and slightly tangy tahini. I had to hide it in the fridge before I ate it all, one spoon at a time.
Beetroot and walnut hummus (adapted from Hugh Fearnley-Whittingstall‘s River Cottage Every Day)
Ingredients
- 50g walnuts
- 1 tbsp cumin seeds
- 25g stale bread, crusts removed
- 200g cooked beetroot (not pickled), cut into cubes
- 1 tbsp tahini (sesame seed paste)
- 1 large garlic clove, crushed
- Juice of 1 lemon
- Sea salt and freshly ground black pepper
Method
Toast the walnuts in a stove at 180 oC for 5-7 minutes, until fragrant. Leave to cool.
In a small frying pan over a medium heat. Add the cumin seeds and dry-fry them, shaking the pan almost constantly to avoid burning, until they start to sizzle. Crush the seeds with a pestle and mortar or a spice grinder.
Break the bread into small chunks, put in a food processor or blender with the walnuts and blitz until fine. Add the beetroot, tahini, most of the garlic, a good pinch of the cumin, half the lemon juice, a little salt and a good grind of pepper, then blend to a thick paste.
Adjust it by adding a little more cumin, garlic, lemon, salt and/or pepper, blending again until you are happy with it. Loosen with a dash of oil if you think it needs it.
Serve at room temperature
PS – Cookies (Taralli Caserecci Pugliesi) courtesy of Coop Fine Food
Savoury cookies with parlsey and tahini spread
Posted: June 30, 2013 Filed under: Pastry and Baking, Snacks, Tapas, Vegetarian | Tags: Cookies, Herbs, Snacks, Spread, Tahini, Tapas, Yotam Ottolenghi Leave a comment
B. was wondering what to do with a bottle of tahini he had sitting on his fridge. “What is this used for?”, he asked. “Oh, well, plenty of stuff like humus… and errrr… humus…. or even maybe carrot hummus, if you will“, I answered a bit mortified by the lack of options. Seriously, is tahini used just for hummus? After googling for a few minutes, it seems it also very popular in vegan cuisine, including lebanese inspired brownies (add beetroot for extra touch of healthiness), it is fundamental for baba ghanoush and the hero in all sorts of yoghurty-garlicky-herb-y dips. Like for example, this one I found in Jerusalem (but of course…). As a bonus, these savoury biscuits, a favourite of Yotam’s father. Totally addictive…
Savoury cookies with parsley and tahini spread (adapted from Yotam Ottolenghi and Sami Tamimi‘s Jerusalem)
Ingredients
Cookies
- 500g of plain flour sifted
- 100mL of sunflower oil
- 100 unsalted butter diced and left to soften
- 1 teaspoon of fast action dried yeast
- 1 teaspoon of baking powder
- 1 teaspoon sugar
- 1 1/2 teaspoon salt
- 1 1/2 teaspoon ground cumin
- 1 1/2 teaspoon fennel seeds toasted and very lightly crushed
- App 100mL of water
- 1 medium egg, whisked
- 2 teaspoon white (and black) sesame seeds
Dipping sauce
- 35g flat leaf parsley (stems and leaves)
- 1 garlic clove crushed
- 25g light tahini paste
- 125g Greek yoghurt (drained)
- 25mL lemon juice
- Pinch of salt
Method
Cookies
Preheat the oven to 200 oC. Place the sifted flour in a large bowl and make a well in the centre. Pour the oil into the well, add the butter, yeast, baking power, sugar, salt and the spices and stir together until the dough is formed. Add the water gradually while stirring until the dough is smooth. Knead for a couple of minutes.
Line a baking sheet with baking parchment. Divide the dough into small bowls, about 25g each. On a clean surface, roll the balls into long snakes, around 1cm thick and 12-15cm long. Make a closed out of each snake dough, and put on the parchment paper leaving a 2 cm distance between each of them. Brush each ring with the egg wash and sprinkle lightly with sesame seeds. Leave to prove for 30min.
Bake the biscuits in the oven for 22min, until golden brown. Allow to cool before storing. They will keep for 10days.
Dipping sauce
Blitz all the ingredients together to get a smooth, uniform green sauce you can use to coat the cookies. Add a bit more water if necessary.
Roasted carrot hummus with orange
Posted: May 25, 2013 Filed under: Snacks, Tapas, Vegetables, Vegetarian | Tags: carrot, Hugh Fearnley-Whittingstall, Hummus, Orange, Spread, Vegetarian Leave a comment
I know I am partial to all things carroty… I had to try this one, mobile calorie intake units or no mobile calorie intake units to entertain. While it might be a departure from the original carrot hummus recipe (no chickpeas in sight), it was certainly delicious. The kind of food I need to hide from myself to make sure I don’t eat it all in one go. Sweet and spicy, aromatic and smooth, shiny and happy…
PS – Lingue di suocera [mother in law’s tongue] courtesy of Coop Fine Food
Roasted carrot hummus with orange (adapted from Hugh Fearnley-Whittingstall’s column in The Guardian)
Ingredients
- 500g carrots, peeled and cut into 4-5cm chunks
- 4 large garlic cloves, bashed
- 2 tbsp olive oil or rapeseed oil
- 1 small orange, juiced, zest finely grated
- Juice of ½ lemon
- 3 tbsp tahini (sesame seed paste)
- Sea salt and freshly ground black pepper
Method
Heat the oven to 200 oC
Put the carrots, garlic and oil in a roasting tin, season and roast for 30-35 minutes, giving the carrots a good stir halfway through, until tender and starting to caramelise at the edges. Remove from the oven and leave to cool slightly.
Tip the carrots into a food processor. Squeeze the garlic cloves out of their skins and put these in, too, along with any oil from the tin. Add the orange zest and juice, lemon juice, tahini and some salt and pepper, and process to a coarse purée. Add more lemon juice and seasoning as necessary. Serve the hummus warm or at room temperature.
Ferran Adrià’s Guacamole with tortilla chips
Posted: October 6, 2012 Filed under: Fruit, Tapas, Vegetarian | Tags: Avocado, Ferran Adria, Tomato Leave a comment
Seriously, no need to buy special spices mix in expensive packages with a kilometer long list of ingredients. Making guacamole is as easy as this…
Guacamole with tortilla chips (adapted from Ferran Adrià’s The Family Meal)
Ingredients (for 6)
- 2 ripe tomatos, peeled and diced
- 1 small onion finely chopped
- 3 avocados
- 1 onion very finely diced
- 4 tablespoons of finely chopped fresh coriander
- 4 tablespoons of olive oil
- Salta and pepper to taste
- Tortilla chips
Method
Start by peeling the tomatoes. Put the tomatoes in boiling water and leave for about 10 min. Put them in iced water to quickly cool them down. Pull the skin out of the tomatoes with a small knife. Dice them into very small cubes.
Finely chop the onion.
Pick the leafs out of the coriander stalks and chop them very.
Cut the avocados in half and remove the stones. Remove the flesh with a spoon. Put them in a bowl in mash them with a fork until you have a coarse paste.
Add the tomato, onion and coriander to the avocado paste and mix everything with a spoon until incorporated into the mix.
Finally, add the lemon juice, salt and pepper to taste.
Serve with the tortilla chips.
Serrano ham with melon mousse
Posted: August 18, 2012 Filed under: Pork, Tapas | Tags: Ham, Melon, Simone & Ines Ortega, Spain, Tapa 1 Comment
This is where the rest of the ham ended up… A delicious combination of flavors with a sophisticated touch, ideal for Summer.
Serrano ham with melon mousse (adapted from the Inés and Simone Ortega’s Book of Tapas)
Ingredients
- 3 gelatin leaves
- 3 halved small melons, seeds removed (it works best with cantaloupe)
- 1 cup (=250 mL) of whipped cream
- 12 thin slices of cured ham
- Salt and pepper
Method
1. Follow the instructions of the box to prepare the gelatin leaves.
2. Scope out of the flesh of the melon with a spoon and put them skins in the fridge. Make sure you don’t break brea skins as you will need them to plate this dish.
3. Puree the melon flesh in a blender, until you don’t see any chunks of fruit.
4.Put a small amount of the melon puree in a small pan. Warm it through over a low heat. Fish out the gelatin leaves from the water, and add to the warm melon. Stir well until it dissolves. Fold in the remaining puree and let it cool.
5.Fold the whipped cream in the gelatin-melon mix. Season with salt and pepper.
6. Poor the mixture into the melon shells and put it back into the refrigerator until it is solid.
7. When you are about to serve it, put the ham slices on top. Be careful not to let the melon go warm.
Iberian ham and tomato bread (pa amb tomàquet amb pernil, pan con tomate y jamón)
Posted: June 3, 2012 Filed under: Tapas | Tags: bread, Catalonia, Ham, Spain, Tapas, Tomato 2 Comments
Fly-in-fly-out to Barcelona… A little less than 11 hours in town, which allowed to fit in enough time to do my thing, touch the Mediterranean and buy proper ham at the airport free shop. And, by proper ham, I mean jamón ibérico de bellota [acorn Iberian ham], the dark red meat marbled with veins of fat which only the free range black Iberian pigs who feast on acorns can have. It is only the finest of cured hams and is considered one of the best delicacies in the world. Well, let’s make it clear – it actually is. I have seen otherwise serious gown up almost shed a tear when they tasted. As M. eloquently put it “the kind of thing that makes worthwhile years of studying just to be able to afford it”. And, if I may add, instrumental to cope with endless hours of corporate drama.
In any case, once the precious ham was acquired, carefully transported into Switzerland and put to rest in the fridge, I still had to figure out how to serve it. It was not just a question of dropping it in a hot plate… This ham deserved the best ingredient to compliment its nutty rich flavor and bring the best out of it. Since I had just been in Barcelona, it seemed totally logical to serve it with tomato bread, a combination of flavors made in heaven, known in Catalonia as pa amb tomàquet. It is said to be the most popular dish of their cuisine, and you may find different versions and lines of thought. Toasted or fresh bread? Garlic, or no garlic? Rub the tomato or use a pre-made mixture? Grate the tomato or puree it? I just avoided all the metaphysical question by resorting to my ex-Spanish Mother-in-Law strong recommendations.
Iberian ham and tomato bread (pa amb tomàquet amb pernil, Pan con tomate y jamón)
Ingredients
- Finely sliced cured ham
- 1 garlic teeth, peeled and cut in half
- Slices of toasted rustic bread
- Tomatoes (I used cherry tomatoes, as they taste of something. When in Spain, I would have probably used regular grape tomatoes.
- Olive oil to taste
Method
1. Grate the tomatoes into a bowl.
1. Toast the bread for a few minutes, until is warm and slightly crusty
2. Rub with the half garlic.
4. Drizzle with olive oil
5.Spread the grated tomato paste to taste
6. Put the ham slices on top
7. Serve
