Spiced chia pudding with blueberries and crunchy chocolate muesli
Posted: September 29, 2014 Filed under: Chocolate, Dessert, Gluten free, Vegetarian | Tags: Almonds, blueberries, Chia seeds, Coconut, health food, Spices, Sugar, superfood 1 Comment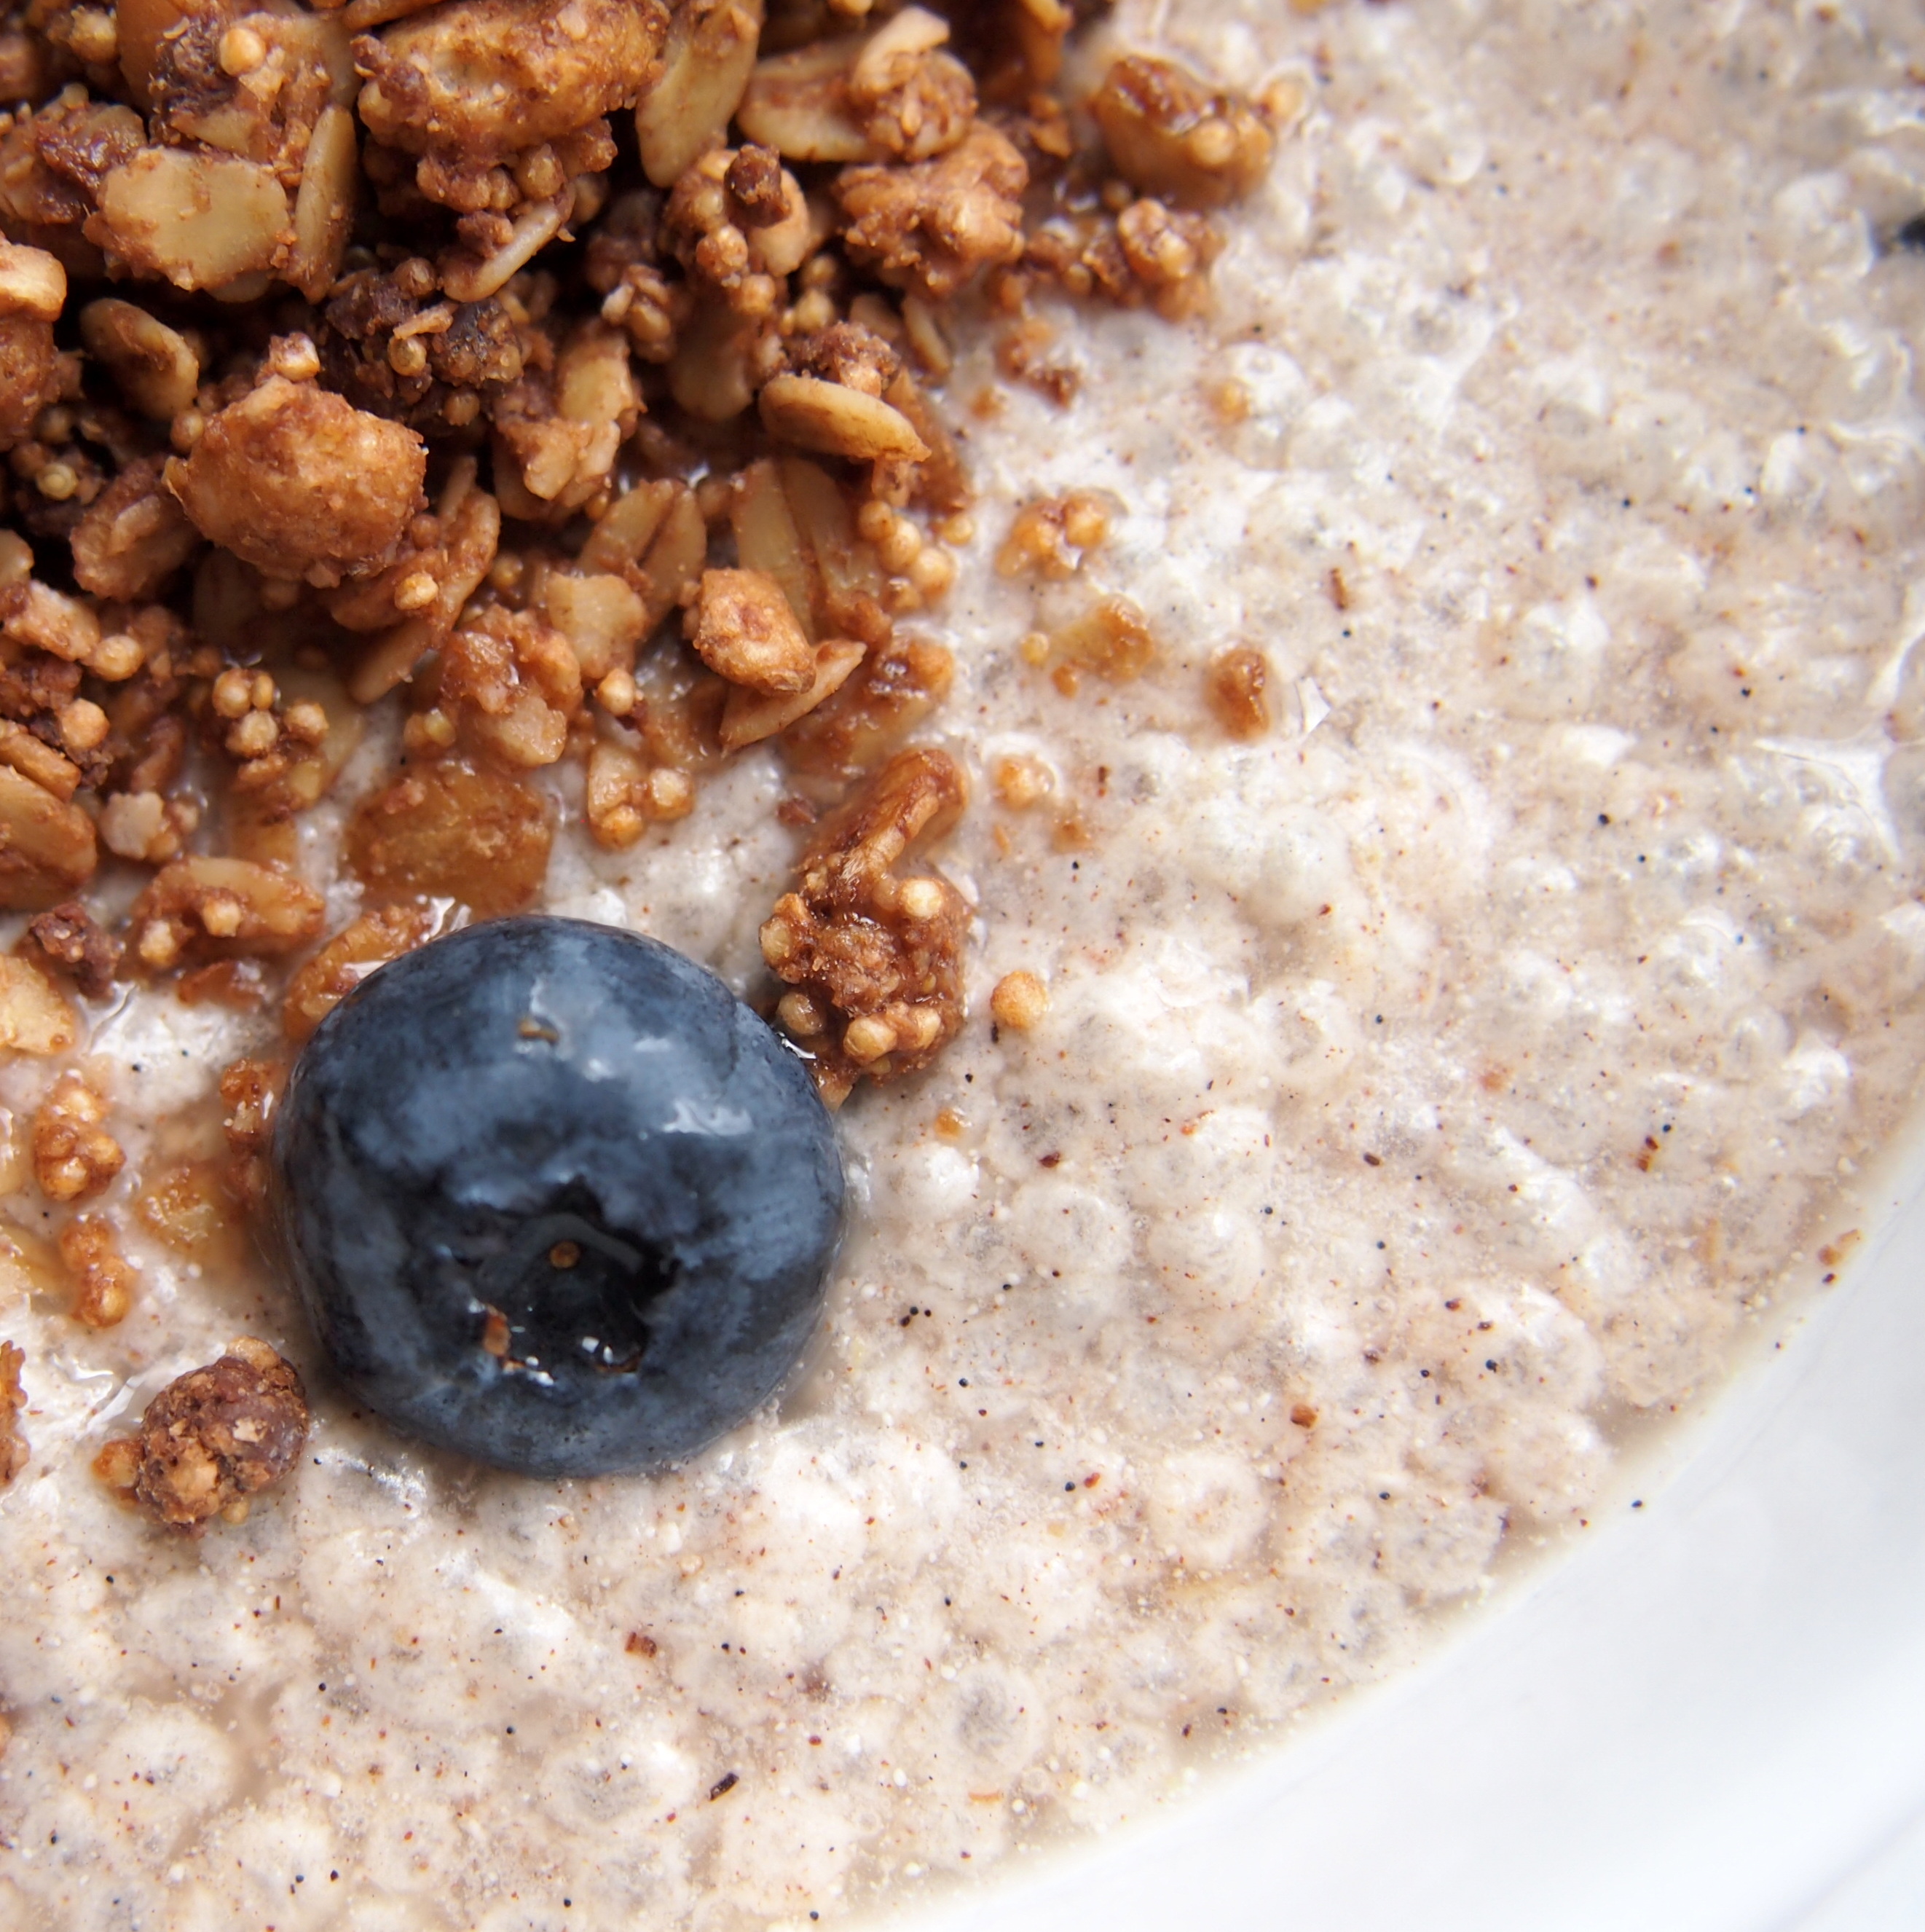
Mighty, gluten-free seeds, packed with omega-3, protein Blah-di-blah-di-blah-di-blah Eleven health benefits of chia seeds that are supported by science Blah-di-blah-di-blah-di-blah Great source of healthy omega-3 fats and fibre blah-di and fortunately it’s an easy food to ad lalalalala. Indeed, I am trying to repurpose this blog into an healthy super foods outlet. The thing is that I actually like the gelatinous texture with some bite and a nutty flavour. It make me feel full for a long time. It is super easy a pudding like dessert – all you need is milk or vegetal equivalent, add spices and you are ready to go. For extra healthy points, add another superfood.
Spiced chia pudding with blueberries and crunchy chocolate muesli (adapted from a recipe found in Food and Wine on-line magazine).
Ingredients
- 3 tablespoons chia seeds
- 1/2 cup (about 120mL) water
- 1 1/4 cup (about 300mL) of light or full fat coconut milk
- 1/2 teaspoon vanilla
- 1/4 teaspoon ground cardamom
- 1/4 teaspoon cinnamon
- 1 teaspoon maple syrup
- 1/4 teaspoon flaky sea salt
- fresh blueberries to task
- crunchy chocolate muesli
Method
In a bowl, combine the chia seeds, water, coconut milk, vanilla, cardamom, cinnamon and 1 teaspoon of maple syrup.
Refrigerate for at least 1 hour or overnight.
To serve, stir in the sea salt and top with fresh blueberries, granola and drizzle with maple syrup. Serve chilled.
Chocolate Orange Loaf Cake
Posted: November 2, 2013 Filed under: Chocolate, Pastry and Baking | Tags: Baking, Cake, Chocolate, Nigella, Orange, Sugar 1 Comment
Nothing like a happy chocolate-y orange-y and super rich-y cake moment to cheer up the day. Never mind the calories – they are all worthwhile.
Chocolate Orange Loaf Cake (adapted from Nigella Lawson’s Nigella Kitchen)
Ingredients
- 160g of soft unsalted butter, plus extra for greasing
- 2 tablespoons maple syrup
- 1 250g raw cane sugar
- 120g of all-purpose flour
- 1/2 teaspoon baking soda
- 3 tablespoons unsweetened cocoa powder, sifted
- 2 eggs
- the zest of 2 regular orange and juice of 1 (1/3 cup)
Method
Preheat the oven to 165oC.
Line the loaf pan with parchment paper and grease the sides.
Beat the already soft butter with the syrup and the sugar until you have a fairly smooth cream (you probably will still feel a bit of grit; should look like a large weak coffee with milk).
Mix the flour, baking soda, and cocoa powder together. Sift the equivalent of a 1 tablespoonful of these dry ingredients into the sugar and butter. Mix well before beating in 1 egg. Then add another couple of spoonfuls of the dry ingredients before beating in the second egg.
Carry on beating in the remaining dry ingredients and then add, still beating, the orange zest and finally, gradually, the orange juice. At this stage, the batter may suddenly look dimpled, as if slightly curdled – if this happens, do not worry.
Pour and scrape the batter into the load pan and put in the stove for 45 minute. Test with a knife before taking it out. A cake tester won’t come out entirely clean, as the point of this cake, light though it may be, is to have just a hint of inner stickiness. Let cool a little in its pan on a wire rack, then turn out with care and leave on the rack to cool.
Blondies (white chocolate and cranberries brownies)
Posted: June 3, 2013 Filed under: Chocolate, Dessert, Vegetarian | Tags: Cake, cranberries, Gordon Ramsay, Sugar, White chocolate 15 Comments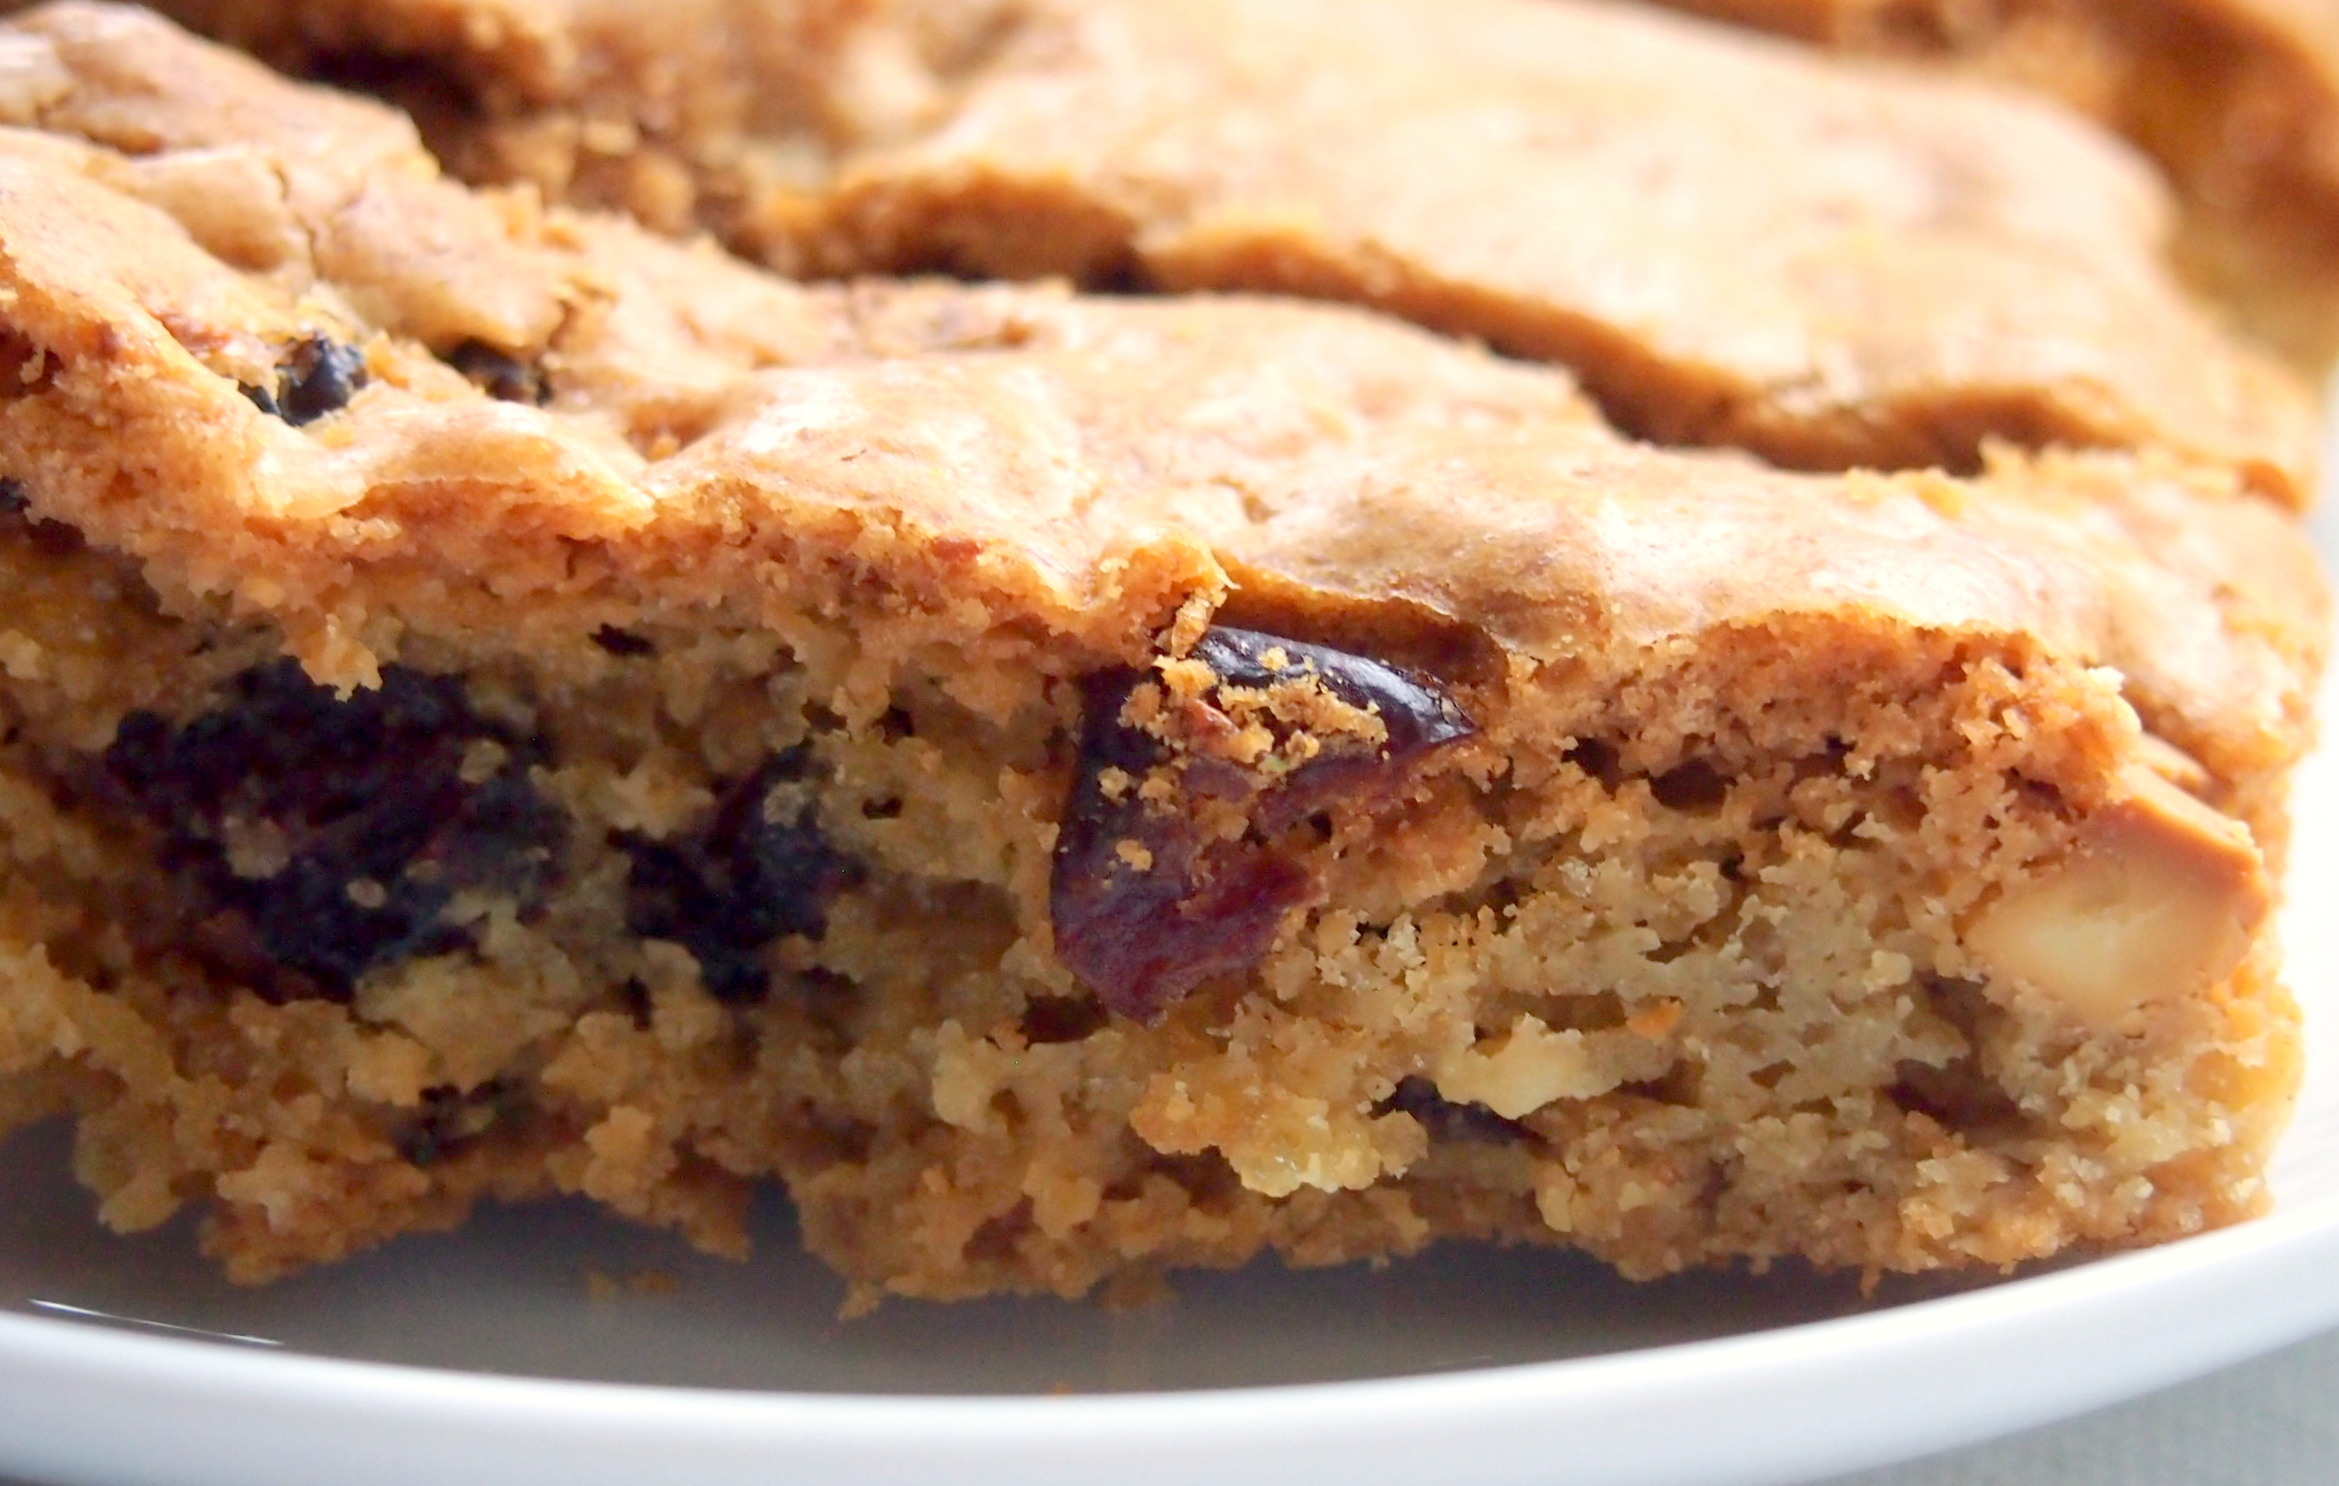
You might like the man or not, but the truth is Gordon Ramsay’s dishes are always unpretentious, non-fuss and are always – but always – delicious. If you follow the instructions, you will get what is promised. All you normally need is a few simple ingredients, utensils everyone has in the kitchen and a couple of cooking techniques. And voilà!, dinner is sorted… His last series – Gordon Ramsay’s Ultimate Cookery Course – is meant to be a return to cooking basics. I was about to yawn and change channels, when I realised what how simple, easy and very tasty the dishes were. While it still might be basic, these are definitely calories worthwhile taking. A few minutes into the episode, I had decided to a)buy the book; b) bake this cake.
Very conveniently, I had something to celebrate at the office a few days after. Shortly after lunch time, it was gone… It was a really-really-really good cake. Very sugary, but packed with flavours. You cannot go wrong with white chocolate, vanilla and cranberries, can you?
Blondies (white chocolate and cranberries brownie, adapted from Gordon Ramsay’s Ultimate Cookery Course)
Ingredients
- 150g dried cranberries
- 2* 100g white chocolate bars
- 225g flour
- 200g unsalted butter
- 1 pinch of salt
- 300g sugar
- 1/2 teaspoon baking soda
- 1 teaspoon baking powder
- 1 teaspoon of vanilla extract
- 2 eggs
Method
Preheat the oven to 200 oC. Butter and flour a baking dish (or use a non stick baking spray). Cover the bottom of the dish with parchment paper.
Put the sugar in a large bowl. Melt the butter, without letting it boil. Stir it in the sugar and whisk until it is smooth.
Meanwhile, in another medium bowl, sift the flour, baking soda, baking powder and the salt together.
Beat the eggs and vanilla into the sugar mixture, one by one. Fold in half the flour mixture until all the lumps are gone. Add the rest of the flour and carry on mixing until is well incorporated. Finally, drop in the white chocolate and cranberries and mix until they are evenly distributed.
Spoon the batter into the baking dish, and put in the stove for about 20-25min. Bake until the blondies are light brown around the edges and a toothpick inserted in the center comes out clean
Chocolate chunk meringue cake
Posted: March 2, 2013 Filed under: Chocolate, Dessert, Pastry and Baking, Vegetarian | Tags: Bill Granger, Chocolate, Dessert, pistachio, Sugar Leave a comment
Believe it or not, this was a last minute dessert. It looks spectacular, it tastes scrumptious and is a fool proof recipe. Home cooking doesn’t get much better than this…
Chocolate chunk meringue cake (adapted from Bill Granger‘s Easy)
Ingredients
- 6 egg whites
- 220g golden caster sugar
- 200g dark chocolate roughly chopped
- 100g pistachio nuts,roughly chopped plus extra to decorate
- 3oo mL double cream (or whipped cream)
Method
Pre-heat the oven to 160C.
In a sheet large enough to cover a baking tray draw a circle with 26cm diameter
Turn the paper around and put it on the tray
Whist the egg whites with an electric mixer until they form soft peaks. Add the sugar, one spoon of a time, whisking between every addition until all the sugar is well incorporated.
Fold in the chocolate and the sugar.
Transfer to the baking tray and spread out, keeping the mixture roughly inside the circle.
Put in the oven for about 1h or until cooked through.
Beat the cream to soft peaks, spread over the meringue once it is evenly cool. Scatter with extra pistachios.
Chocolate and beetroot brownies
Posted: January 25, 2013 Filed under: Chocolate, Dessert, Vegetarian | Tags: Beetroot, Cake, Chocolate, Hugh Fearnley-Whittingstall, Sugar 2 Comments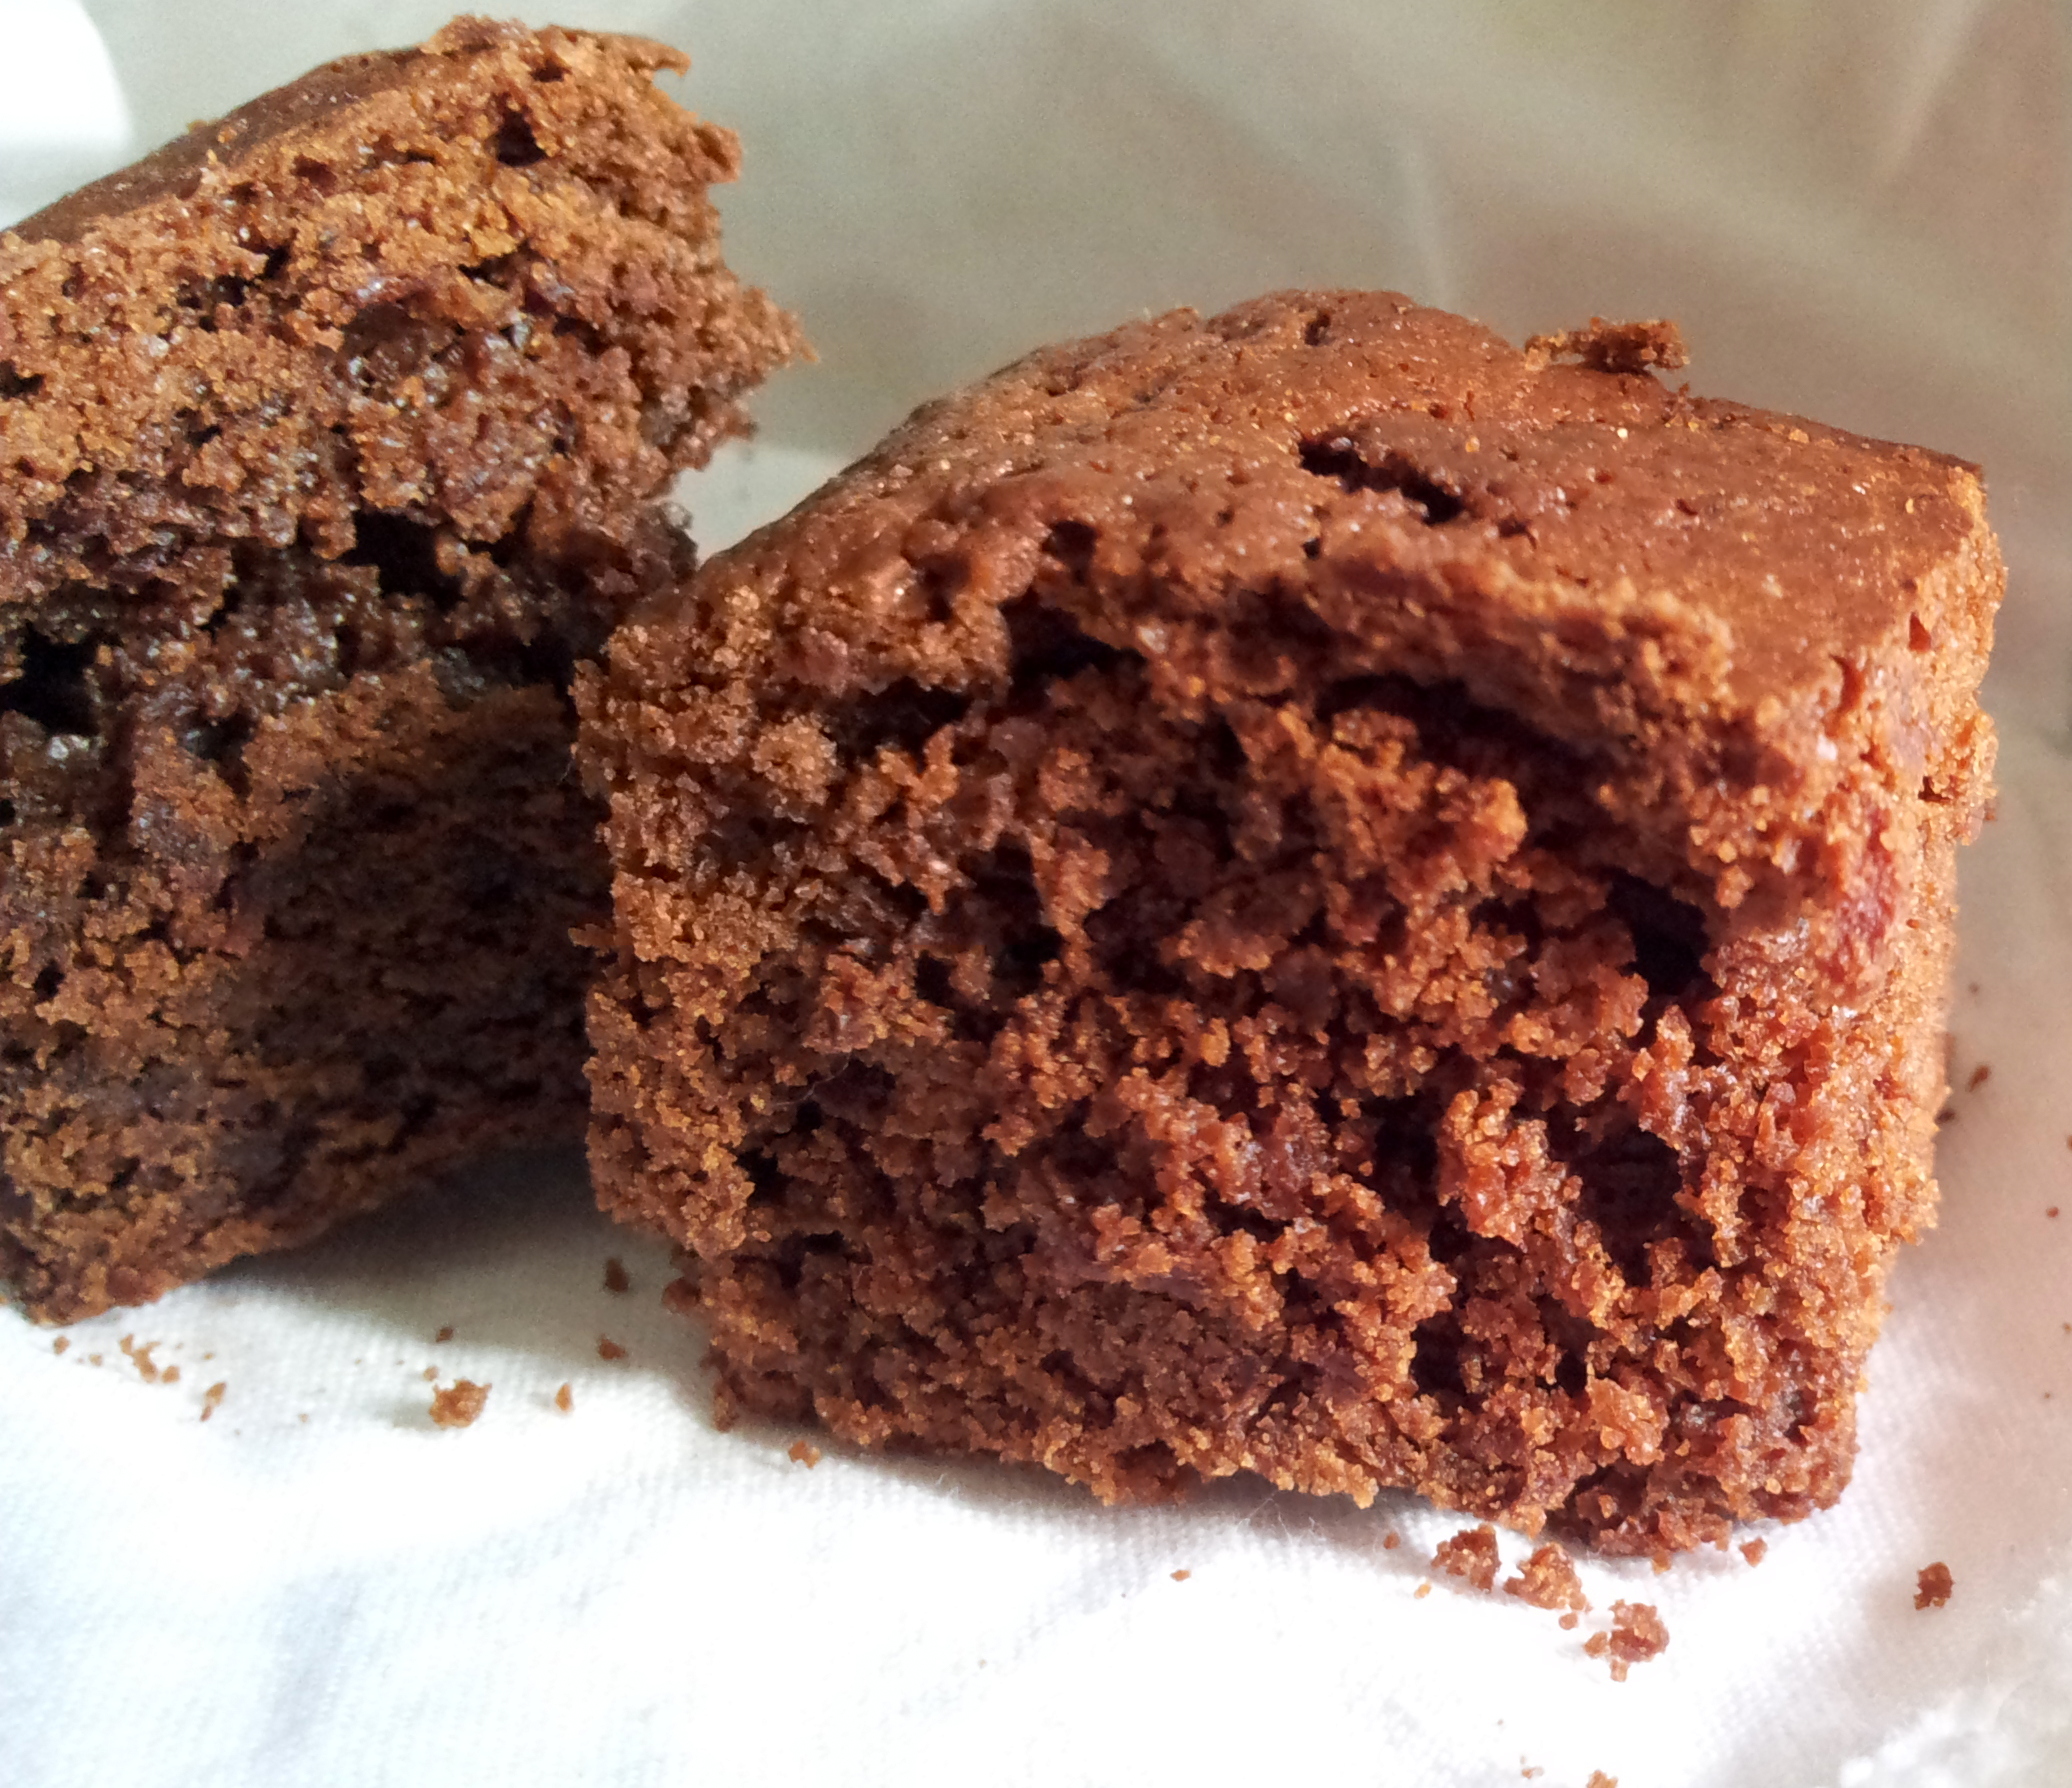
In the aftermath of #beetrootgate, beetroot brownies… A slightly less guilty pleasure, with a rich and velvety texture. Truth to be said, I like this version better than the 100% chocolaty thing.
Chocolate and beetroot brownies (adapted from Hugh Fearnley-Whittingstall ‘s River Cottage Everyday)
Ingredients
- 250g of unsalted butter, cut into cubes
- 250g dark chocolate (70% cocoa), broken into pieces
- 3 medium eggs
- 250g caster sugar
- A pinch of salt
- 150g whole meal flower
- 1 teaspoon of baking powder (or according to instructions in the package)
- 250g of beetroot, boiled until tender then peeled and grated.
Method
Set the oven to 180oC
Grease a baking tray, and cover the bottom with parchment paper.
Melt the chocolate and the butter in a bain marie. If you don’t have a proper double boiler (I don’t), just fit a metal bowl over a small saucepan filed with a few centimeter of water, making sure the bowl isn’t touching the water. Let the water boil, while mixing the butter and the chocolate until the mixture is well combined and glossy.
Whisk the eggs and the sugar until well combined. Then beat in the chocolate and butter until smooth.
Combine the flour with salt and baking powder. Sift them over the chocolate mix. Gently fold in with a wooden spoon.
Finally, fold in the grated beetroot, and keep on folding gently. Be careful not to over mix – otherwise you will get though brownies
Put the mixture in a tin and smooth the top with a spatula.
Bake for 20-25min, or until a knife insert into the center come out slightly moisten or with a few crumbs attached.
Let it cool until you cut the squares.
Banana and chocolate bread
Posted: September 16, 2011 Filed under: Chocolate, Dessert, Snacks | Tags: Banana, Cake, Chocolate, Sugar 1 Comment
What do to feed the 11-year-old for breakfast? Well, easy answer: banana and chocolate bread. He even agreed to by my sous-chef, raised for the occasion and thanked profusely. The original recipe is by Bill Granger, found during a totally random google search.
Banana and chocolate bread
Ingredients
- 250g of all-purpose flour
- 2 teaspoons baking powder
- 125g unsalted butter, softened
- 250g caster (superfine) sugar (I used regular sugar)
- 4 ripe bananas, mashed
- 2 eggs, lightly beaten
- Seeds of 1 vanilla pod
- 175g good-quality dark or milk chocolate chips
Method
Preheat the oven to 180°C. Sift the flour and baking powder into a large bowl.
Mix the butter, sugar, banana, eggs, vanilla seeds and chocolate chips in a separate bowl.
Add to the dry ingredients and stir to combine, being careful not to over mix.
Pour the batter into a non-stick, or lightly greased and floured, 19 x 11 cm loaf tin and bake for 1 hour 15 minutes, or until the bread is cooked when tested with a wooden skewer.
Leave to cool in the tin for 5 minutes before turning out onto a wire rack to cool.
Red velvet cake
Posted: August 12, 2011 Filed under: Chocolate, Dessert, Pastry and Baking | Tags: Cake, Chocolate, Nigella, Sugar, Vanilla 1 Comment
By a strange coincidence I started this blog a few days before my birthday. Actually, one of my first posts was about the ice cream cake my Mother used to do every year around my birthday . This year, however, for some reason, I was not really in the mood for a creamy cold cake… I kept seeing red velvet cakes appearing on different TV shows and food magazines, much to the joy and delight of those who ate them. The New York Times described it as “a cake that can stop traffic”. If even the NY Times said it and Nigella had the recipe on her book and website, why not give it a go and try it for the dinner party?
As its own name says, the red velvet cake is red. Red in an unnatural shade of red. In case doubts that it should be red persist, it is layered with white frosting, to make the red go even redder. It is supposed to have a slight taste of cocoa and vanilla, and a velvety texture given by buttermilk. The red color is allegedly the result of the presence of anthocyanin in the cocoa, which becomes red in the presence of an acid, explaining the necessity of adding unusual ingredients in a cake like vinegar and buttermilk. Strictly speaking, the cocoa might turn to a reddish shade and become dark-red-brown…. To get the extra bright red, abundant food dye has to be added. No one knows for sure where the recipe comes from, whether it was created on the South of the United States or it was an experiment gone mad in a Canadian department store. For sure, it seems to be a New World creation, as it is hardly ever seen on European cookbooks. In fact, I cannot remember ever seeing it for sale on this side of the Atlantic patisseries.
As this was a birthday cake, an elaborate decoration was expected. I had planned to do a flamenco style polka-dot pattern, being the number of red dots being equal to my age (approximately and vaguely equal- to avoid sticking candles on the cake, any excuse was worth trying). But… the butter cream was a bit more runny than it should have been, and though I had a perfect cylinder of marzipan to start with, cutting it in thin slices didn’t do any favors to its shape. It ended up as a Dali interpretation of a rustic Seville-olé red velvet cake (picture here). Per se, the name didn’t conceal the less-than-optimal decoration, but I earned a lot points for imaginative and rhetoric culinary speech.
But, it all comes down to taste. And it tasted good. Very good, in fact: a very rich taste (not totally cocoa, but also not totally vanilla), with a moist and sensuous texture. A pleasure as sinful and guilty as only cake can be.
Ingredients
Cake
- 2 cups shortening (=226g; I replaced it with butter)
- 3 cups of sugar (=600g)
- 4 eggs
- 4 ounces of red food coloring (I used 20ml in total)
- 1 tablespoon of cocoa
- 2 teaspoon salt
- 5 cups flour (=640g)
- 2 cups butter milk (=500ml)
- 2 teaspoon baking soda
- the seeds of 2 vanilla pods
- 2 tablespoons vinegar (I used white balsamic, for no reason in particular. I just happened to have it on my cupboard).
Butter cream (frosting)
- 10 table spoons flour (I used Maizena, as I like its flavor and consistency better than regular flour)
- 2 cups milk (=500 ml)
- 2 cups unsalted butter (=226g)
- 2 cups sugar (=400g)
- the seeds of 2 vanilla pods
Method
Cake
Preheat oven to 180oC. Butter and line 3 9″ baking pans with parchment paper (I used 3 squared trays)Place melted butter and sugar in bowl and beat until light and fluffy (about 10 minutes). Add eggs one at a time, beating after each addition.
Make a paste of the food colouring, cocoa and salt (I never got a paste, as 20ml were not enough to bind with the cocoa). Add to butter mixture.Mix vanilla with buttermilk. Dissolve baking soda in vinegar, add to butter milk (it gets a bit fizzy – you might want to consider to use a larger bowl).
Sift and measure flour; add to creamed shortening alternating with buttermilk mixture ending with flour. Mix until smooth approx. 4-5 minutes.Pour into pans. Bake 35-40 minutes. Remove from oven, cool 10 minutes, then invert cakes onto cooling rack and to cool completely before frosting.
Frosting
Make a paste with flour and a small amount of the milk. Add remaining milk gradually, mixing until smooth. Cook in a double boiler at medium heat until thick (do not forget to stir while cooking to avoid burning. If it gets to hot, remove it from the heat and stir to cool it a bid. It should be a very slow simmer. At the end, it will be a very thick mixture at end, but if you can see lumps it is pass it through a fine sieve). Let cool.
Cream butter with icing sugar and vanilla. Beat until fluffy. Add cooled flour mixture 1 spoon at a time, beating well between additions.
Chocolat Carré
Posted: March 28, 2011 Filed under: Chocolate, Dessert | Tags: Chocolate, Sugar Leave a comment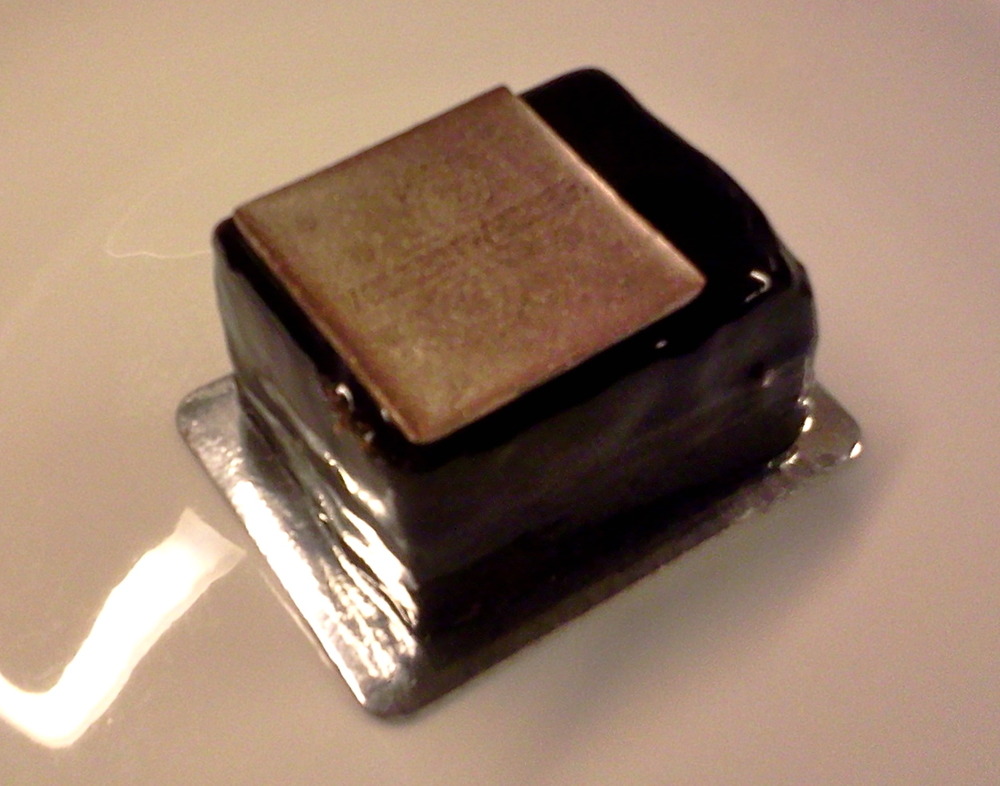
A mousse au chocolat variation by Vollenweider Chocolatier. Absolutely decadent.
Chocolate dipped strawberries
Posted: March 13, 2011 Filed under: Chocolate, Dessert | Tags: Chocolate, Strawberries Leave a comment
Totally decadent dessert – it could even be classified as a capital sin.
Chocolate dipped strawberries
Ingredients
- Perfectly ripened strawberries, green caps intact (normally, the huge ones from Spain are the best for this).
- 100 g chocolate (I used Cailler Cremant Intense 64% – with silvery label)
- 1 spoon of butter
- cream (I used soy cream)
Method
Melt the chocolate you want to be a purist, the chocolate should be melted in bain marie. I put it on the microwate for 4min, at defrost. When half of it is melted, take it out and mix.The remaining bits will melt on its own. Do not let boil!). Add the butter and cream until you have the desired consistency. Dip the strawberries in the melted chocolate. Apparently, if you give it a little shake to the strawberry when you pull it out, u withdraw it, the little cracks will be filed and you will have a nice, even line of chocolate at the base (I found no noticeable difference). To drip the chocolate off, give it a quick, clockwise motion to spin it.
Chocolate mousse, take 2
Posted: January 4, 2011 Filed under: Chocolate, Dessert | Tags: Chocolate Leave a comment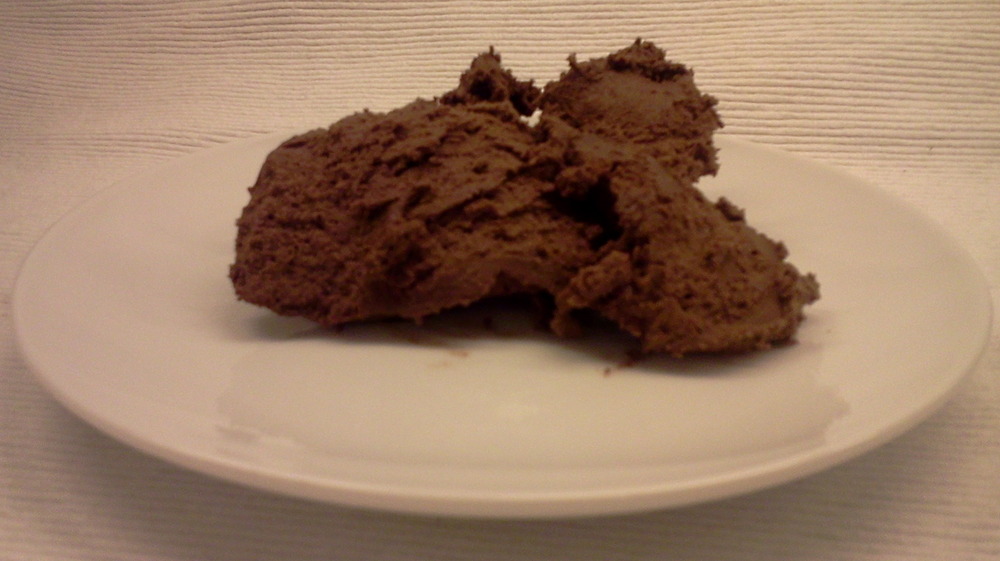
O. says describes it as being orgasmic, H. says it is ecstasy on a spoon. Officially, it is mousse au chocolat, and the recipe is over 40 years old (here). To enjoy with a glass of Port. Or two.
